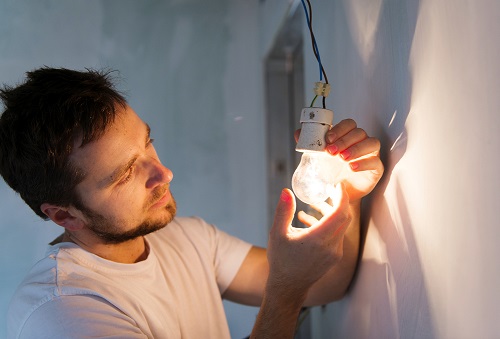
When it comes to setting up or changing a light fixture in your home, it’s typically recommended to hire a certified electrician. However, if you’re feeling a bit adventurous and have some DIY skills, there are certain tasks you can tackle on your own. Here’s a straightforward guide on how to properly install a light fixture:
Electrician Tips: Installing Light Fixtures
Installing a Light Fixture:
It’s important to understand that each light fixture is unique, so there isn’t a universal rule for installation. The good news is that every fixture comes with its own set of instructions to help you through the process. But if you want to be safe, you can hire an electrician in Myrtle Beach.
If you’re planning to add a new light in a room, consider installing a fresh electrical circuit. While an electrician can tap into an existing circuit, it’s crucial not to overload it, as this could trip the circuit breaker.
For retrofitting purposes, you might find it necessary to cut into the drywall to provide additional support or locate the electrical box on a nearby stud or ceiling joist.
Recessed lights are typically installed after the framing but before the drywall. If that’s not the case, you can retrofit a recessed light by using a part equipped with a setup bracket designed to fit through the hole.
 Use the fixture’s housing as a guide to mark the hole’s location, then carefully cut the hole using a keyhole saw. Keep in mind that the specific steps may vary depending on your electrical system.
Installing Track Lights:
Track lights can greatly enhance a room’s aesthetics, and installing a new one on a finished ceiling is a relatively manageable task.
If you’re not replacing an existing light, you’ll need to install a new junction box and run power to it using a new cable.
Properly position the track so that the bulbs are angled at approximately 30 degrees toward the objects or areas you want to highlight.
A typical light kit usually comes with connecting wires, but you can create your own if needed. Simply cut a piece of wire to the appropriate length, allowing it to connect the power source cable to the track terminals.
Strip the wires, connect them securely, cap the connections with wire connectors, and bundle them together neatly. Thread the wire ends through the fixture’s mounting plate and firmly attach it to the electrical box. Pass the wire ends through the openings in the track at the terminals. Secure the track to the ceiling, either by screwing it into the ceiling joists or using toggle bolts.
Connect the ground wire to the base plate of the fixture. Strip the wires, ensuring they’re securely attached to the corresponding track terminals. Attach each individual light to the track. It’s crucial to follow the manufacturer’s instructions, as some fixtures may snap on, while others require the use of a bracket.
Remember, while DIY installation can be rewarding, it’s often advisable to seek the expertise of a professional residential contractor in Myrtle Beach, especially for more complex electrical tasks.
If you’re unsure or need assistance, don’t hesitate to reach out to MB Electrician Pros. They can ensure your light fixtures are safely and properly installed.
Like our Facebook page for more info about our services.
MB Electrician Pros
Myrtle Beach, SC 29577
843-353-6345
electriciansmyrtlebeach.com
No comments:
Post a Comment